Write a mobile image classification Android application
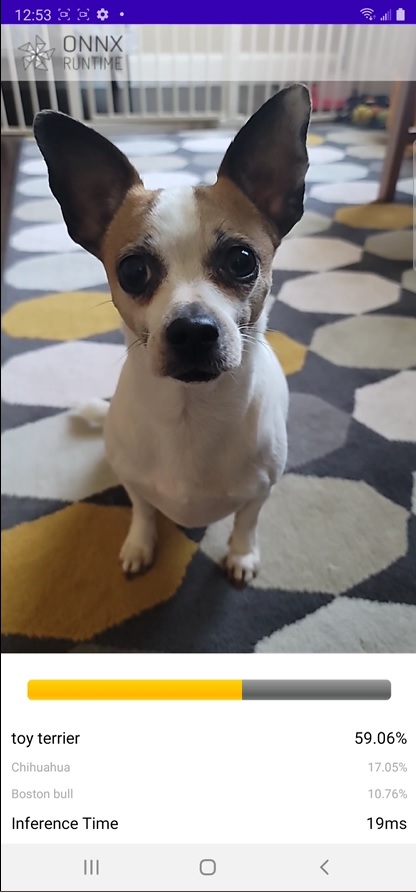
This app uses image classification to continuously classify the objects it sees from the device’s camera in real-time and displays the most probable inference results on the screen.
This example is loosely based on Google CodeLabs - Getting Started with CameraX
The pre-trained TorchVision MOBILENET V2 is used in this sample app.
Contents
Pre-requisites
- Android Studio 4.1+ (installed on Mac/Windows/Linux)
- Android SDK 29+
- Android NDK r21+
- Android device with a camera in developer mode with USB debugging enabled
- Clone the onnxruntime-inference-examples source code repo
Prepare the model and data used in the application
-
Convert the model to ORT format
Open Mobilenet v2 Quantization with ONNX Runtime Notebook, this notebook will demonstrate how to:
- Export the pre-trained MobileNet V2 FP32 model from PyTorch to a FP32 ONNX model
- Quantize the FP32 ONNX model to an uint8 ONNX model
- Convert both FP32 and uint8 ONNX models to ORT models
Note: this step is optional, you can download the FP32 and uint8 ORT models here.
-
Download the model class labels
wget https://raw.githubusercontent.com/pytorch/hub/master/imagenet_classes.txt -
Copy the labels file and models into the sample application resource directory
cd onnxrutime-inference-examples
cp *.ort mobile/examples/image_classification/android/app/src/main/res/raw/
cp imagenet_classes.txt mobile/examples/image_classification/android/app/src/main/res/raw/
As an alternative to steps 1-3, you can use this pre-built script to download the models and data to the correct directory:
cd onnxruntime-inference-examples
mobile/examples/image_classification/android/download_model_files.sh
Create the Android application
-
Open the sample application in Android Studio
Open Android Studio and select
Open an existing project, browse folders and open the foldermobile/examples/image_classification/android/.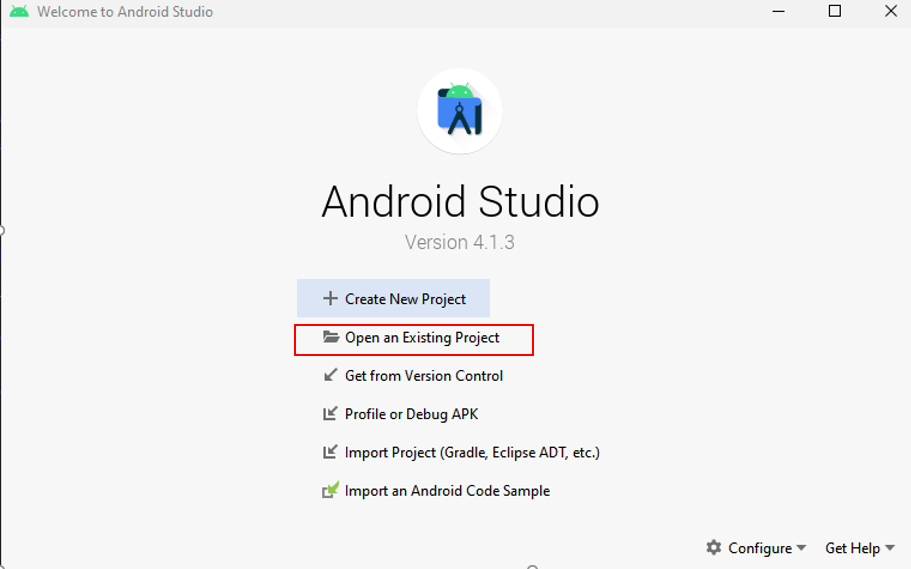
This project uses the published Android package for ONNX Runtime. You can also customize ONNX Runtime to reduce the size of the application by only including the operators from the model. For more information on how to do this, and how to include the resulting package in your Android application, see the custom build instruction for Android
-
Build the application
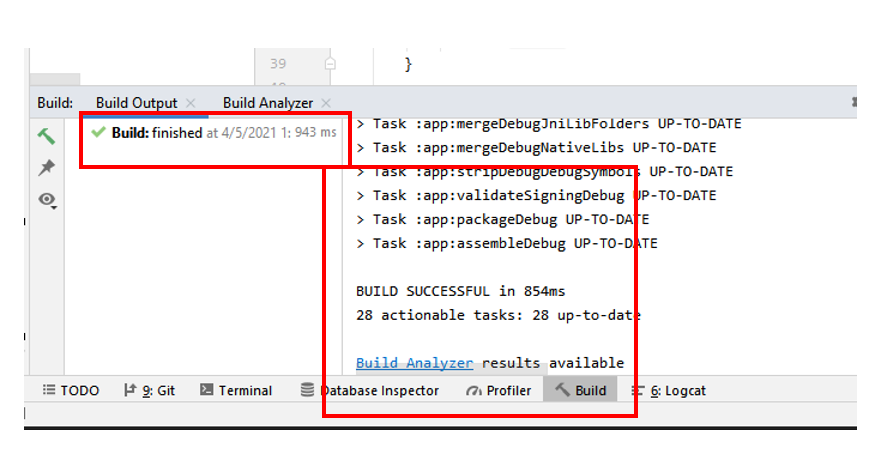
Select
Build -> Make Projectin the top toolbar in Android Studio and check the projects has built successfully.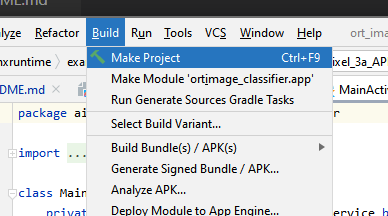
-
Connect your android device and run the app
Connect your Android Device to the computer and select your device in the top-down device bar.
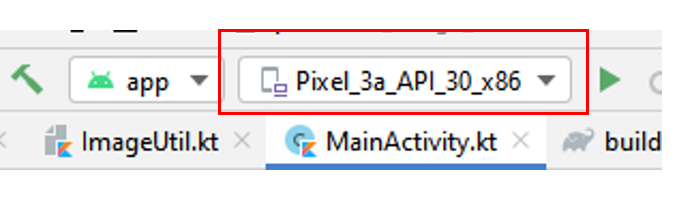
Then Select
Run -> Run appand this will prompt the app to be installed on your device.Now you can test and try by opening the app
ort_image_classifieron your device. The app may request your permission to use the camera.Here’s an example screenshot of the app.