ONNX Runtime IoT Deployment on Raspberry Pi
Learn how to perform image classification on the edge using ONNX Runtime and a Raspberry Pi, taking input from the device’s camera and sending the classification results to the terminal.
If you have not configured a Raspberry Pi before, check out the Raspberry Pi documentation to get your device setup.
There are many benefits and use cases for deploying models to edge devices. Check out the list on our IoT tutorial home page.
Contents
- Prerequisites
- Download the source code, ML model and install the packages
- Run inference on the Raspberry Pi with the
inference_mobilenet.pyscript - Conclusion
- More examples
Prerequisites
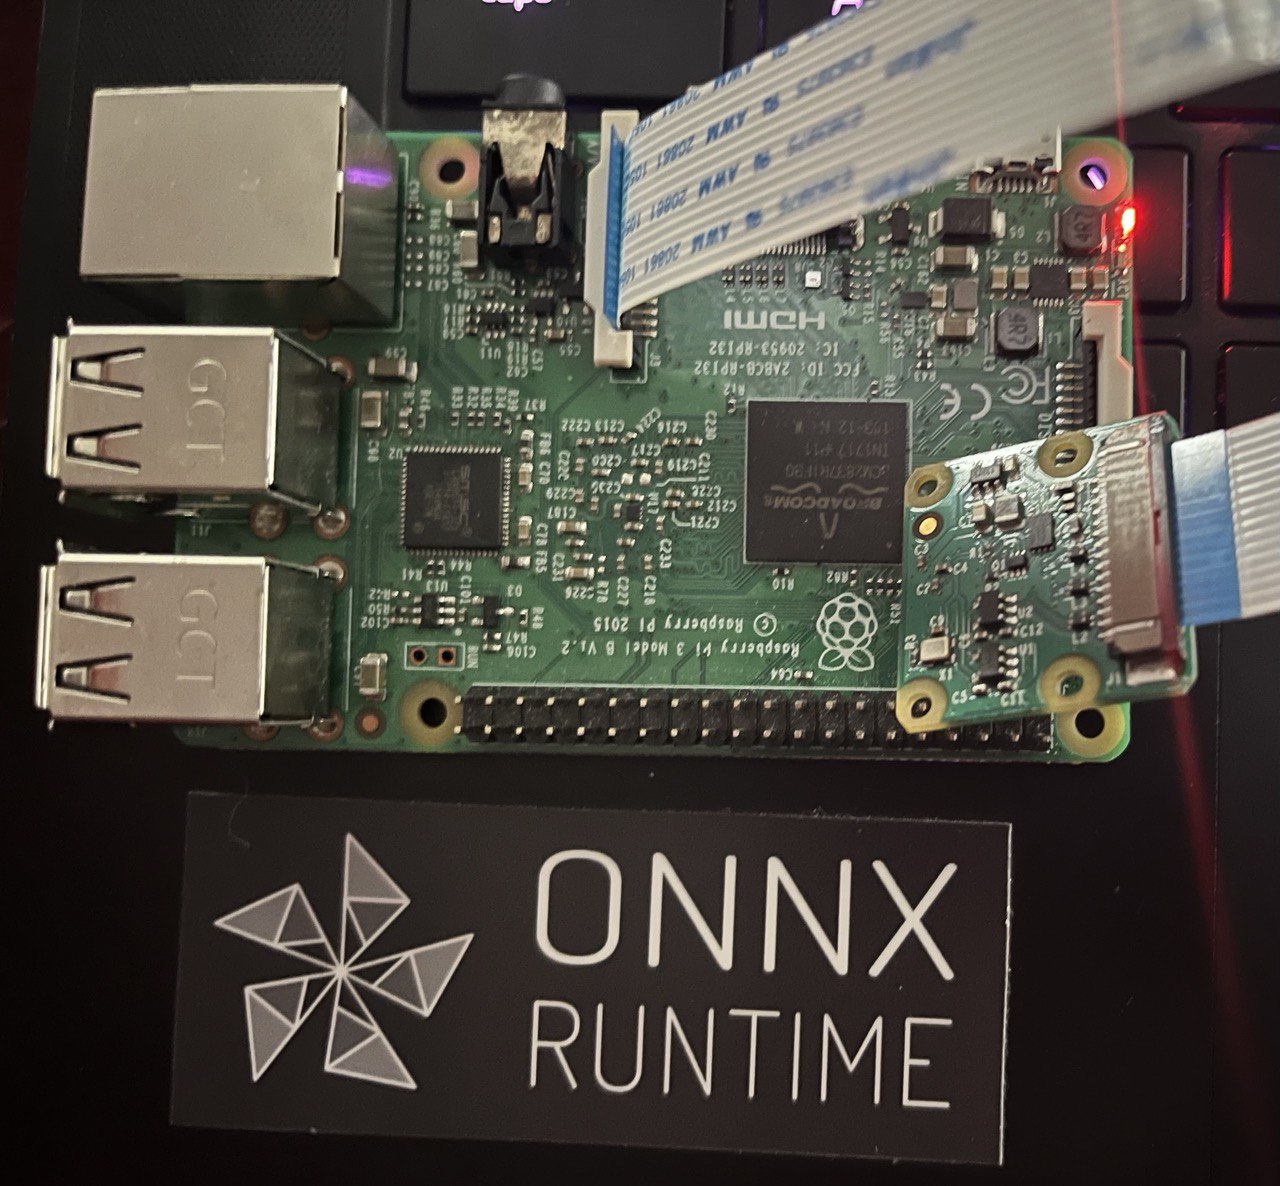
- Raspberry Pi 3 B board
- SD Card Imaged with Debian from the Raspberry Pi Imager
- Raspberry Pi Camera Module or other compatible camera.
- VNC Viewer for remote access. Optionally you can connect the board to a monitor.
- This tutorial will not cover imaging and setting up the Raspberry Pi. Basic understanding of how to configure and program with Python on the Raspberry Pi is expected.
Download the source code, ML model and install the packages
Once you have imaged the Raspberry Pi and configured it for use its time to connect and download the source code to your device.
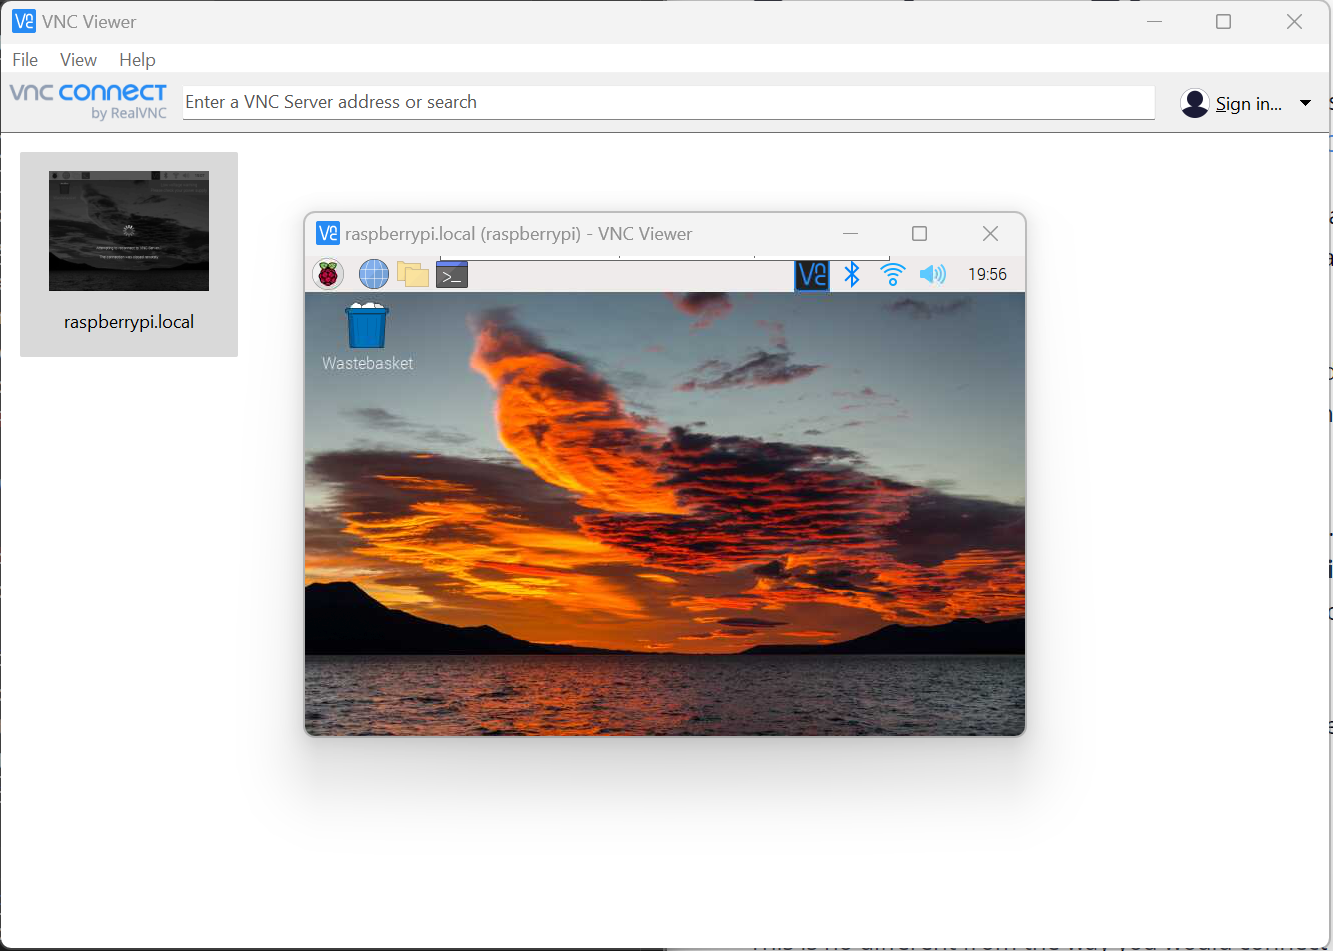
- Connect to your Raspberry Pi device
In this tutorial we are using VNC Viewer to remote in. If you are going to use VNC Viewer be sure to follow these setup steps to establish a connection. Once VNC is enabled on Raspberry Pi and you have downloaded the VNC Viewer app on your computer, then you can remote into the device.
-
Download the source to your Raspberry Pi. The source code includes everything you need to run inference including a
mobilenetONNX model from the model zoo andimagenet_classes.txtclasses.git clone https://github.com/cassiebreviu/onnxruntime-raspberrypi.git -
Navigate to the
onnxruntime-raspberrypidownload location and install the package from therequirements.txtwith the following command.cd onnxruntime-raspberrypi pip install -r requirements.txtIn this tutorial we are using the Raspberry Pi Camera Module. We want to test the camera with the
cameratest.pyscript provided. If you have issues getting the camera to work runsudo apt update sudo apt upgradeto update the board and firmware. -
Configure and test the camera by running the below command. This will create a image capture called
test.jpgin the current directory and open a live video stream of the camera output. HitESCto cancel out of the live video output.python cameratest.py -
The
cameratest.pyscript is below for reference:import numpy as np import cv2 # Create test image using opencv. cap = cv2.VideoCapture(0) cap.set(3,640) # set Width cap.set(4,480) # set Height ret, frame = cap.read() frame = cv2.flip(frame, -1) # Flip camera vertically cv2.imwrite('test.jpg', frame) # Start live video feed until `ESC` is pressed to quit. while(True): ret, frame = cap.read() frame = cv2.flip(frame, -1) # Flip camera vertically gray = cv2.cvtColor(frame, cv2.COLOR_BGR2GRAY) cv2.imshow('frame', frame) cv2.imshow('gray', gray) k = cv2.waitKey(30) & 0xff if k == 27: # press 'ESC' to quit break cap.release() cv2.destroyAllWindows()Run inference on the Raspberry Pi with the
inference_mobilenet.pyscript
Now that we have validated that the camera is connected and working on the Raspberry Pi, its time to inference the ONNX model provided in the source. The model is a MobileNet model that performs image classification on 1000 classes.
- Run the inference script with the below command.
python inference_mobilenet.py - Terminal output:

-
The image that was inferenced on the Raspberry Pi:
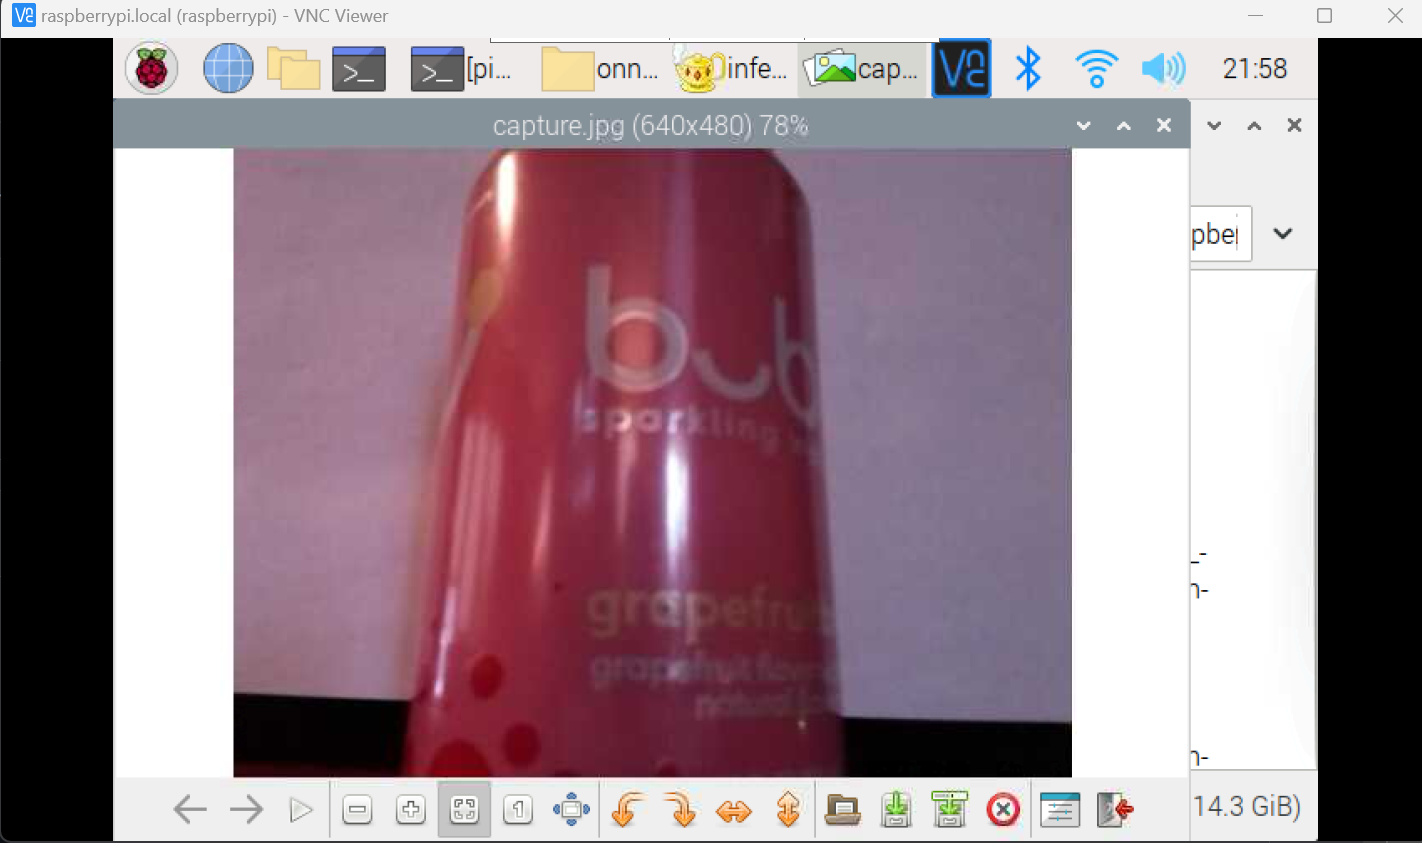
-
The
inference_mobilenet.pyscript below for reference:# Import the packages. from PIL import Image import numpy as np import onnxruntime import torch import cv2 def preprocess_image(image_path, height, width, channels=3): image = Image.open(image_path) image = image.resize((width, height), Image.LANCZOS) image_data = np.asarray(image).astype(np.float32) image_data = image_data.transpose([2, 0, 1]) # transpose to CHW mean = np.array([0.079, 0.05, 0]) + 0.406 std = np.array([0.005, 0, 0.001]) + 0.224 for channel in range(image_data.shape[0]): image_data[channel, :, :] = (image_data[channel, :, :] / 255 - mean[channel]) / std[channel] image_data = np.expand_dims(image_data, 0) return image_data def softmax(x): """Compute softmax values for each sets of scores in x.""" e_x = np.exp(x - np.max(x)) return e_x / e_x.sum() def run_sample(session, image_file, categories): output = session.run([], {'input':preprocess_image(image_file, 224, 224)})[0] output = output.flatten() output = softmax(output) # this is optional top5_catid = np.argsort(-output)[:5] for catid in top5_catid: print(categories[catid], output[catid]) # Write the result to a file. with open("result.txt", "w") as f: for catid in top5_catid: f.write(categories[catid] + " " + str(output[catid]) + " \r") # Create main function to run inference. if __name__ == "__main__": # Read the categories from the classes file. with open("imagenet_classes.txt", "r") as f: categories = [s.strip() for s in f.readlines()] # Create Inference Session session = onnxruntime.InferenceSession("mobilenet_v2_float.onnx") # Get image from the camera. cap = cv2.VideoCapture(0) cap.set(3,640) # set Width cap.set(4,480) # set Height ret, frame = cap.read() frame = cv2.flip(frame, -1) # Flip camera vertically cv2.imwrite('capture.jpg', frame) cap.release() cv2.destroyAllWindows() # Run inference run_sample(session, 'capture.jpg', categories)
Conclusion
Now that we have successfully run inference on the Raspberry Pi, we can use the same code to run inference on any device that supports ONNX Runtime. We can also use the same code to run inference on the Raspberry Pi with a different model. Check out the other models in the ONNX Model Zoo.